
Updated · 6 min read
In short
- R10–R11 slip resistance for the shower and wet areas; R9–R10 is enough in dry zones.
- Large tiles make a small bathroom look bigger but increase cutting waste — order 10–15% extra.
- Waterproofing under the tiles in wet zones is mandatory practice, not an option.
Slip resistance: what R9 means and why it matters in a bathroom
The bathroom floor is the only one in the house that regularly gets wet, so slipping is the real risk, not a label detail. Tiles for wet areas are classified by a slip rating R, from R9 (basic grip) to R13 (very slip-resistant, typical for industrial or sloping outdoor areas). In a home bathroom, R9 or R10 is enough on the dry area around the basin, but inside the shower or on any surface that is often wet, R10–R11 is worth it — especially with children or older people in the house.
The R rating is on the pallet label or the product data sheet, not just on a single box — ask for it explicitly if it isn't displayed. A glossy tile, however hard-wearing, is almost always more slippery when wet than a matt one with the same rating, so avoid very glossy finishes in the shower regardless of the certificate.
Tile size in a small bathroom
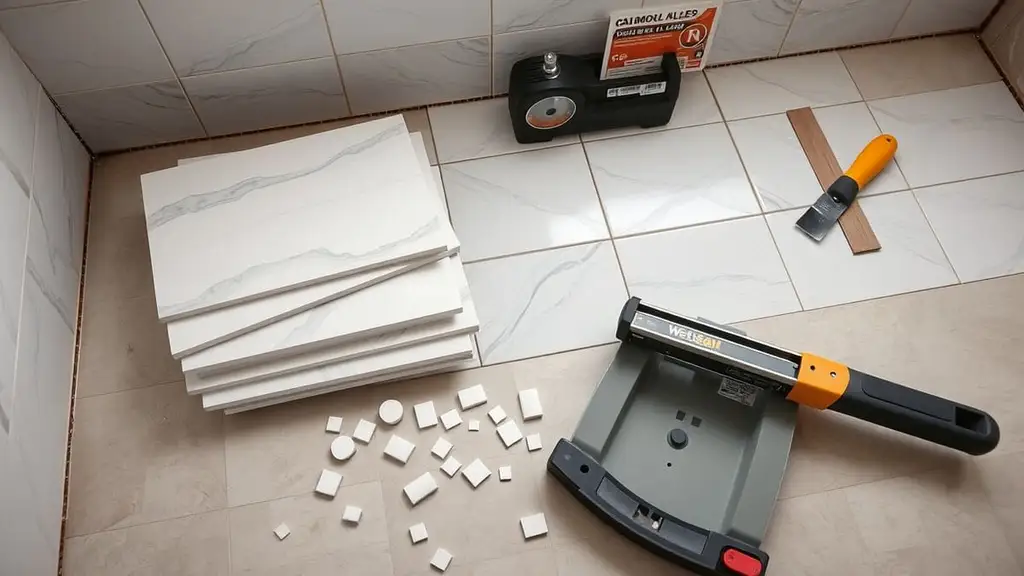
Large tiles — 60 × 60 cm or long formats such as 30 × 60 or 30 × 90 cm — reduce visible joints and create a sense of continuous space, which helps a small bathroom visually. The problem comes with cutting: a 4–5 m² bathroom has many corners, niches, a door frame and pipe penetrations, and large tiles leave more offcuts than 30 × 30 or 33 × 33 cm tiles, which adjust with less waste. In practice, large tiles make the room look bigger but increase the waste percentage and often the labour, because angled cuts and cuts around pipes take more care.
A common middle ground is a long plank format (15 × 60, 20 × 60 cm), which works on both floor and walls and gives a modern look without the waste of very large tiles. Whatever the format, always add 10–15% for cutting waste and a reserve for later repairs — tiles from the same production batch aren't guaranteed to be available a few years later.
Waterproofing under the tiles in wet zones
Tiles are not waterproof at the joints — water gets in over time through the grout and micro-cracks, especially in the shower and around the bath. So before tiling, the areas directly exposed to water (inside the shower, the wall behind the bath, the corner by the washing machine) are treated with a waterproofing layer — liquid membrane plus waterproof tape at corners and pipe penetrations — applied directly on the screed and wall, before the tile adhesive.
Skipping waterproofing is one of the most expensive mistakes in a bathroom renovation, because leaks show up downstairs or in the wall structure only after months or years, when fixing them means breaking out tiles already laid. Treat waterproofing as a mandatory step in any bathroom with a shower or bath, whatever the budget.
Joints: width, colour, and epoxy vs. cement grout
Joint width depends on the format and on how straight the tiles are: rectified tiles (cut precisely at the edges) allow narrow joints of 1.5–2 mm for an almost continuous look, while non-rectified tiles need at least 3–4 mm to absorb small size variations. Too narrow a joint on non-rectified tiles produces visible lippage at the corners.
Cement grout is cheaper and fine for most bathrooms, but it soils more easily and absorbs moisture over time unless it is water-repellent. Epoxy grout costs much more and is harder to apply, but it is practically waterproof and doesn't stain — worth it in the shower and around the bath, where joints are wet most often, even if the rest of the bathroom gets standard cement grout. Colour matters too: white or light grout looks perfect when new but shows dirt over time; a mid-grey hides daily wear much better.
Matt vs. gloss, and where the budget goes
A glossy finish reflects light and makes a small bathroom look brighter, but shows every water drop and limescale mark — on glossy wall tiles around the basin they appear almost instantly. A matt or satin finish hides water spots and fingerprints much better, at the cost of a slightly darker room if there's no daylight.
Budget tiles cover the basics at a modest price per square metre, the mid range brings larger formats and good-looking stone or wood effects, and premium ranges (technical porcelain, XXL formats, faithful marble effects) can cost several times more per square metre. Because a bathroom's area is small, the difference between budget and premium weighs less in the total than you might expect — which is why the bathroom is often the room where a slightly more generous materials budget pays off.
Calculators for this job
Floor tile calculator
How many square metres and how many tiles to order for a floor, with cutting waste included.
Wall tile calculator
The wall tile area for a bathroom or kitchen and the number of tiles, with openings deducted and waste included.
Tile adhesive calculator
How much tile adhesive, in kilograms and bags, for the area and trowel notch you'll use.
Grout calculator
Grout consumption per square metre and in total, from the tile size, tile thickness and joint width.
Waterproofing membrane calculator
How many rolls of waterproofing membrane a terrace, flat roof or foundation needs, with the overlap included.