
Updated · 5 min read
In short
- Cut the hole to a square or rectangle so the patch fits tightly.
- Always tape the joints — filler alone cracks along the line.
- Apply several thin, ever-wider coats and feather the sanding a few centimetres beyond the patch.
What gives away a rushed repair
A rushed plasterboard patch is almost always recognisable from a few steps away — not because the material is wrong, but because the edge of the patch stays visible as a slightly raised line or a fine difference in texture. The difference between an invisible repair and a visible one isn't the quality of the board but four technical steps, each simple on its own, but often skipped or rushed when you want to finish quickly.
The good news is that none of these steps needs special tools or experience — just a little patience at exactly the moments when hurrying is most tempting.
Prepare the hole — a regular shape, not the original edges
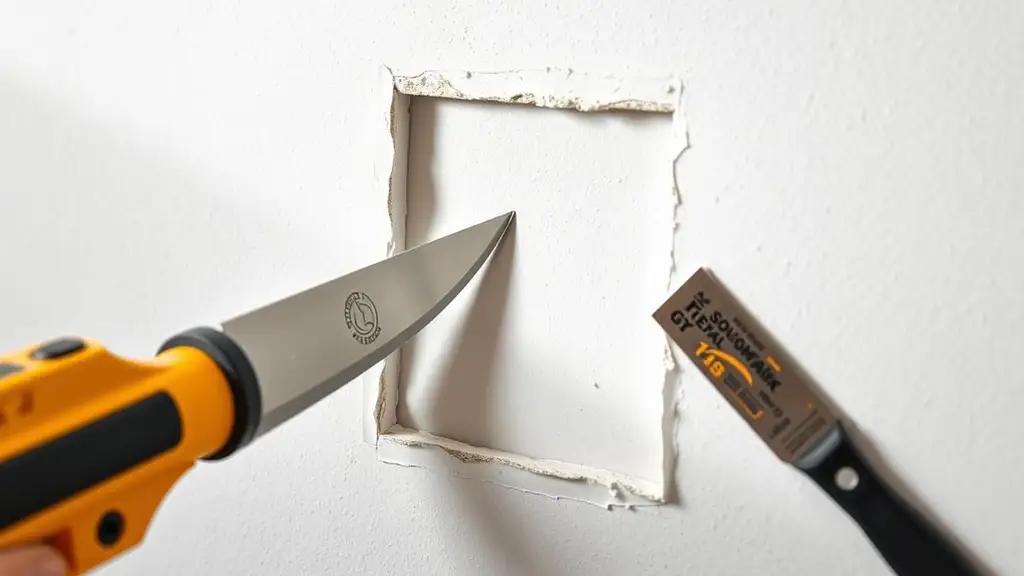
The first step, and often the one skipped completely, is cutting the edges of the hole into a regular shape — a square or rectangle with straight sides — instead of working over the ragged edges left by the break. An irregular hole seems easier to 'just fill', but in practice it makes fitting the patch much harder, because every corner and curve has to be cut by hand from the new board, with a high risk of uneven gaps at the edges.
A regular shape, cut with a utility knife or a small plasterboard saw, lets you cut a patch to exactly the same size, with a tight fit on all sides. That tight fit is the basic condition for the next step — the joint tape — to work properly.
Joint tape over the edges, not just filler in the joint
The most common technical mistake with a plasterboard patch is applying filler straight onto the joint between patch and wall with no tape underneath. Filler alone has no tensile strength — it fills the gap visually but doesn't bond the two surfaces structurally, and at the first change in temperature or humidity a fine crack appears exactly along the joint and gradually widens.
Joint tape applied over all four edges of the patch before the first coat reinforces the joint and spreads the stress over a larger area instead of concentrating it on a thin line. The tape is bedded in a thin coat of filler or, if self-adhesive, pressed firmly with the filling knife to squeeze out air bubbles.
Several thin coats, not one thick one
After taping, the filler goes on in thin successive coats — usually three, sometimes more for a larger area — each left to dry completely and lightly sanded before the next. The natural temptation is one thick coat to 'finish in one go', but a thick coat dries unevenly through its depth, with internal stresses that almost certainly lead to fine surface cracking once dry.
Each coat should be wider than the one before, extending a little beyond its edges — this technique, called feathering, gradually removes any unevenness instead of covering it abruptly with more material.
Wide sanding — a gradual transition, not a sharp edge
The last detail, and often the one that makes the real difference under side lighting, is sanding a little beyond the edges of the patch, not just on the repaired surface. A sharp edge, where the sanded area stops exactly at the patch boundary, stays visible especially in the evening under the oblique light of a bulb or ceiling lamp, even if the wall looks perfectly smooth in direct light from above.
Sanding should create a gradual transition of a few centimetres around the patch, sloping gently down to the level of the existing wall, not a clear boundary. Check the result with a torch held flat against the wall — any remaining unevenness shows instantly at that angle, before you paint.
Calculators for this job
Plasterboard calculator
How many plasterboard sheets a wall or ceiling needs, depending on the board size and waste.
Skim coat calculator
How many kilograms and bags of finishing skim coat the walls of a room need, in one or two coats.
Wall filler calculator
An estimate of the filler needed for holes and cracks in a wall.