
Updated · 3 min read
In short
- The first continuous row goes above the external wall, not on the eaves overhang.
- Long roof slopes and steep pitches need extra rows higher up.
- Brackets per metre and number of rows come from the system manufacturer's tables for your snow zone.
What decides the number of snow guards
- Snow zone: design snow loads vary hugely between lowlands and mountains.
- Pitch: the steeper the roof, the more force on the guards.
- Slope length: a long slope collects more snow above the first row.
- Roof covering: smooth metal lets snow slide almost instantly; tiles hold it longer.
Bar systems or snow-stop tiles
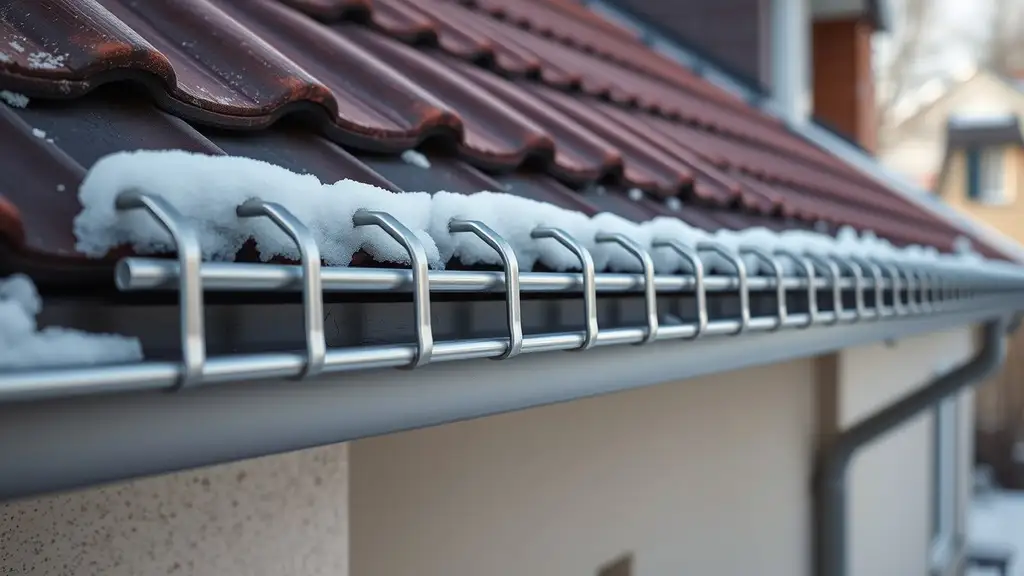
Bar snow guards (one or two tubes on brackets fixed into the roof structure) form a continuous barrier in rows. Snow-stop tiles have an integrated stop and are spread across the surface, staggered. On snowy sites the two are often combined: a row of bars above the wall plus stop tiles across the slope.
Common mistakes
- Fixing the first row on the overhang instead of above the external wall.
- Brackets fixed only into tile battens instead of rafters or the manufacturer's specified fixings.
- A single row on a long slope — all the snow piles onto it.
- Accessories meant for metal roofs on tiles or vice versa, causing leaks at the fixings.
- Gaps at roof windows, chimneys and vents where snow slides through the unprotected strip.
Where they matter most
Above entrances, paths, parking spaces and terraces — anywhere sliding snow or ice can hit people, cars or gutters. Whether snow guards are mandatory is set by local building rules; check them for your area.
Frequently asked questions
Where does the first row of snow guards go?
Above the external wall, not at the edge of the overhang: there the roof structure bears on the wall and can take the load of the retained snow.
How many snow-stop tiles per m²?
They are spread over the whole surface or in zones, in staggered rows; the number per m² rises with pitch and snow zone. The tile manufacturer gives the requirement for each combination.