
Updated · 5 min read
In short
- Ready-mixed filler for small holes; skim coat for medium holes and larger areas; expanding foam only to fill real voids.
- Foam is never a finish: trim it flush and cover it with filler or skim coat.
- Repairs crack months later mostly because a thin-coat material was used to fill a deep hole.
Why no single material suits every hole
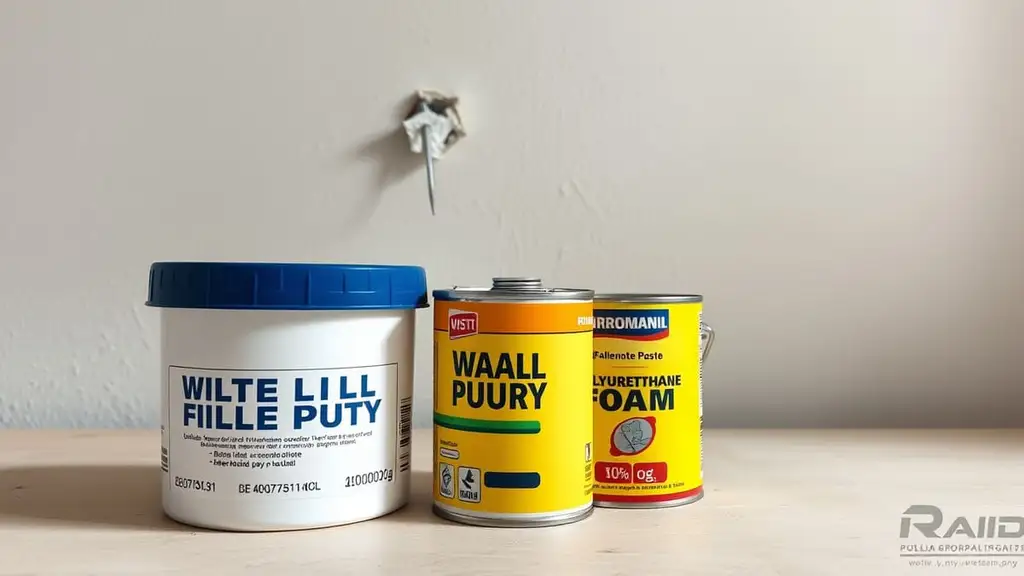
The most common mistake when repairing a wall isn't about skill but about choosing the material. A nail hole, a break a few centimetres across and a deep void left by removed pipework are technically three different problems, even if they look like 'the same repair'. Filler, skim coat and expanding foam are each designed for a certain layer thickness and type of gap, and using the wrong one not only makes application harder but sharply increases the risk of the repair cracking a few months later.
Before buying anything, measure roughly how deep and how wide the hole is — the right decision starts from those two numbers, not from whatever is left in the cupboard from a previous repair.
Ready-mixed filler: the simplest, but not the cheapest
Ready-mixed filler in a tub is the quickest solution for very small holes — from nails, fine wall plugs or screws taken out of a shelf. You apply it straight from the tub with a filling knife, with no mixing and no risk of getting the water ratio wrong. For a few isolated holes on a wall it is the most convenient option.
The drawback is scale: per volume, ready-mixed filler costs much more than skim coat, and over a larger area the cost isn't justified. Filler is essentially a touch-up material, not one for redoing a whole section of wall.
Skim coat: economical, but needs proper mixing
Skim coat (finishing plaster), as a powder mixed with water or ready-mixed, is the right choice for medium holes or for smoothing a larger section of wall, not just a single spot. It costs much less per volume than filler, which makes it the rational option whenever the repair goes beyond a few isolated holes.
The main difference from ready-mixed filler is that powder needs correct mixing — the water ratio affects the consistency and the working time before it starts to set. It also dries slightly differently, sometimes with a slightly different shade or a less fine texture in the first coat, so careful sanding before painting is essential.
Expanding foam: for real voids, not for the surface
Expanding polyurethane foam isn't a finishing material but a volume filler. You use it when the hole isn't just a surface defect but a real void — a hole that goes right through, or the space left beside removed pipework. Filler or skim coat applied straight over such a void has nothing underneath to support it and, over time, sags or cracks.
The correct procedure has two stages: first the foam fills the void and is left to expand and cure fully, then the excess is cut flush with a utility knife and the surface is covered with skim coat or filler for the smooth final finish. Foam alone never gives a surface ready for paint — its job ends at filling the volume.
The most common cause of later cracking
A repair that cracks a few months later is almost never the fault of the paint or the application, but of a material unsuited to the real layer thickness. A fine filler designed for a thin layer of a few millimetres, used to fill a deep hole, lacks the strength needed — it dries unevenly through its thickness, and the internal stresses from drying open cracks right in the centre of the repair.
The rule is simple: the deeper the gap, the more it matters to fill it in stages — foam for volume, then skim coat or filler only for the thin finishing layer at the surface. Skipping that order is why many repairs look fine a week later and crack visibly a few months on.