
Updated · 4 min read
In short
- Fresh filler absorbs paint differently from the old wall — prime the repaired patch first.
- Paint the whole wall corner to corner; a painted patch almost always shows through a difference in sheen.
- Keep a little of the original paint, or note its colour code and batch number.
Why the repair shows even though the filling is perfect
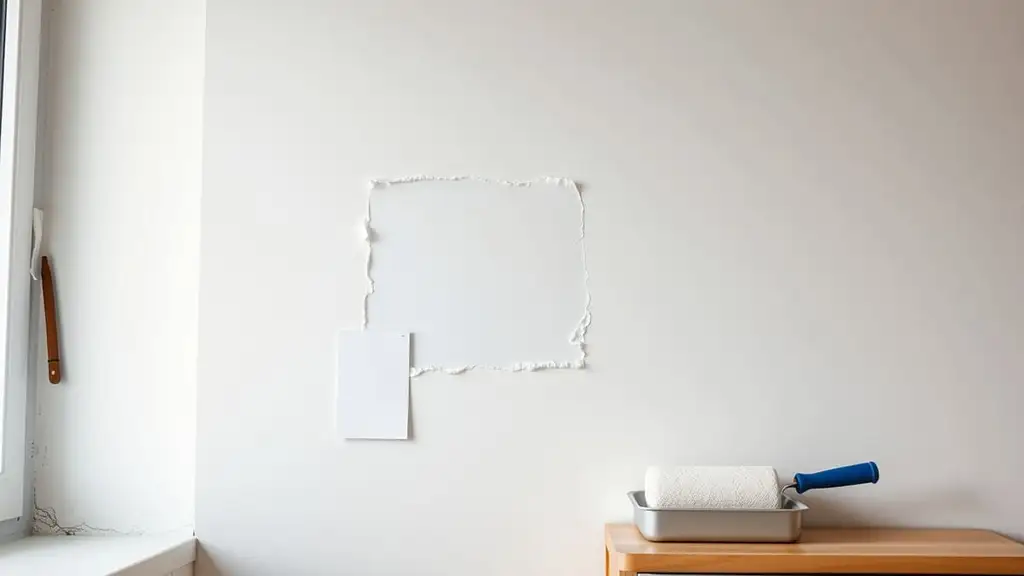
A common frustration after repairing a hole in a wall is that, although the filler is smooth and well sanded, the repaired area still shows — not as a bump but as a patch of slightly different colour or sheen. The reason isn't the quality of the repair but the painting: painting, not the filler, is the step that decides how invisible the repair ends up.
Even the same nominal colour, bought with the same label as the original paint, can look slightly different on the wall, for two common reasons: the old wall has faded naturally over time with light and dust, and a new batch of paint, even from the same manufacturer, can have a minimally different shade from the batch used originally.
Priming the repaired area: a required step, not optional
Fresh filler and an old wall that has been painted for years absorb paint differently. Filler is new and porous, so it soaks up much more paint than a surface already covered with one or more coats, which is practically saturated. Without a primer on the repaired area, the first coat is absorbed unevenly and you get a visibly flatter or slightly different patch, even with exactly the same paint from the same tin.
Primer evens out absorption, making the filler behave like the rest of the wall before the finishing coat. It adds a few hours — the primer's drying time — but skipping it is the most common reason a repair 'shows', even after carefully painting exactly the same colour.
Paint edge to edge, corner to corner — not just the patch
The surest way to make a repaired area invisible is to paint the whole wall from one corner to the other, instead of painting a small patch over the repair. It can seem like unnecessary extra work when the repair is small, but an isolated painted area, however carefully you feather the edges, almost always shows as a patch with a visible outline, even if the shade is identical.
The reason is optical, not chemical: any new coat, however well matched, has a slightly different sheen from an older coat, and the difference in sheen shows under side lighting even when the colour difference is imperceptible. Painting the whole wall corner to corner removes the outlines that would give away a local repair.
Keep the original paint for future touch-ups
The most effective habit for future repairs is keeping a small amount of the paint you used, in a tightly closed jar labelled with the date and the room. If you have none left, note the exact colour code and batch number from the tin label or the receipt — that makes it possible to order an identical colour years later without guessing.
Trying to match a colour from memory years later in a DIY store is almost always a compromise — the human eye doesn't retain exact shades long-term, and the result is often 'almost the same', different enough to show immediately over the repaired patch.
Calculators for this job
Paint calculator
How much wall paint you need for a room, based on the number of coats and the coverage printed on the tin.
Primer calculator
How many litres of primer the walls of a room need before skimming or painting.
Wall filler calculator
An estimate of the filler needed for holes and cracks in a wall.